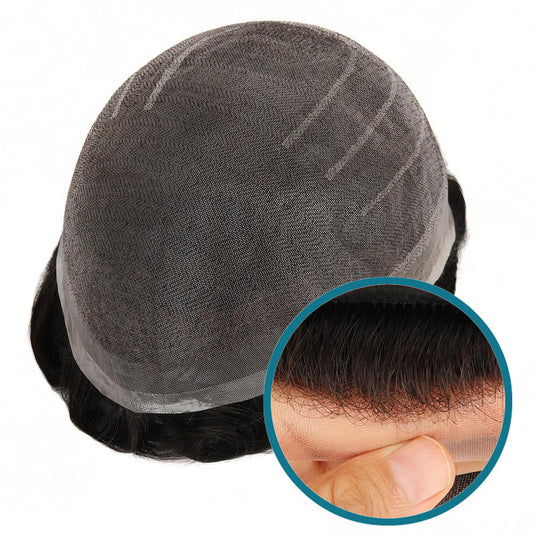
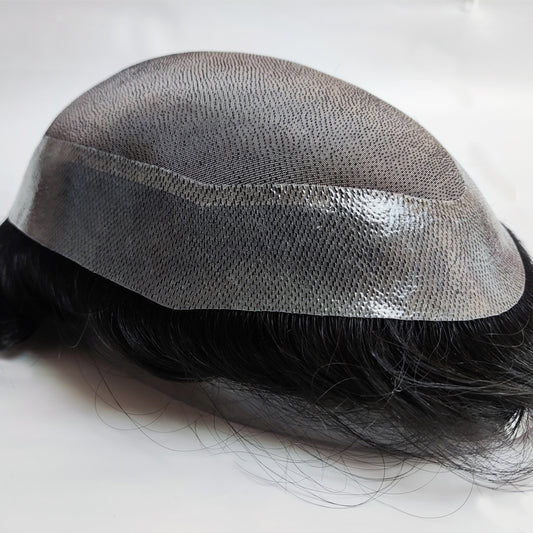
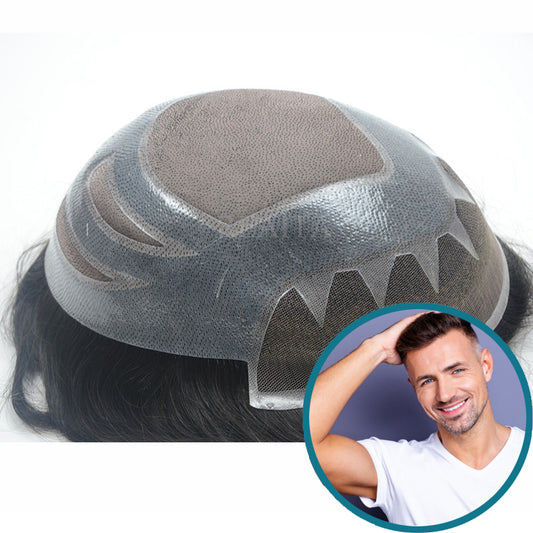
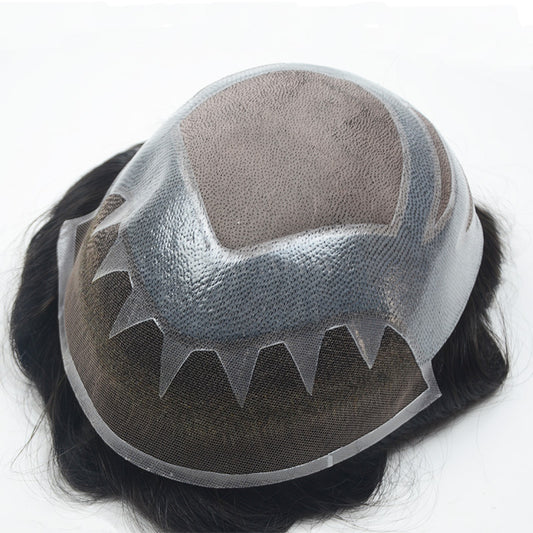
Base Design: Fine Welded Mono ( #0.12 Lace) Base Size: 8"(width)x10"(length) Hair Type: 100% Indian Human Hair Hair Length: 6inches Hair Density: 120% (Medium) Hair Color: Over 60 colors available Hair Style: Freestyle Wave& Curl: 3.2cm wave Fine Welded Mono is all very popular...
A hair system is a hairpiece or partial wig of human hair worn to cover some part of baldness, or for thicker purposes. It is often referred to as hairpieces, toupees or units. It is attached to the existing hair or scalp to give...
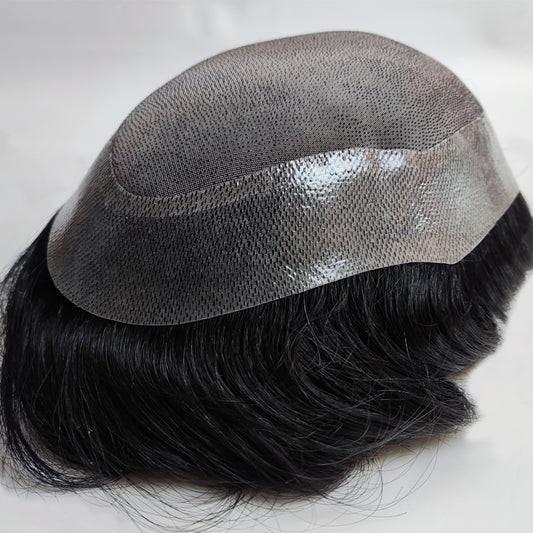
If you need the durable and long lasting base. We recommend our range of mono toupees for men. Apart from their durability, mono hair systems can also hold heavier hair densities like a heavy density, for example. We stock different mono models: some with...
Some clients may need the full cap wig, as the hair toupees are not suitable for everyone.
If you’re aiming to make a full cap-size men’s hair system, you want it to end above the fold at the neck. The easiest way to find this is where the loose tissue sits at the nape of the neck, just below the ear lobe. You want to avoid going too much lower than this as the head movements will stop the men's hair unitfromremaining in place.
You’ll follow the same steps as the “frontal hair system”template when making a full cap template, and focus on a few specific steps:
When you’re covering your head with the plastic wrap, secure it by tying the ends of the plastic wrap under the chin. When you’re working with the plastic wrap around the ears, it’s best to use scissors to cut at the area around the ears for a flush silhouette.
You want to ensure that you use a thin line when drawing the coverage area onto your plastic wrap. If you go too thick with the permanent marker or go too wide, you may end up with an ill-fitting men’s hair unit. With a full cap size, it’s important that you are as accurate as possible.
The advice above is exceptionally important when it comes to cutting the plastic wrap for a custom fit. You want to give half an inch of excess beyond the line, before going over the existing line to make it clearer and more visible. If you go too wide with your initial lines, you’ll end up with a longer or wider hair system than desired.
Whether you’re a stylist ordering for a client or a brand looking to stock a wide range of sizes, you want to use a template for the perfect custom fit. Ensuring that you follow these steps correctly is the best way to guarantee that you’ll get a men's hair systemthat works for your clients.
Here, let’s see how to measure head size for a full wig. Below is the photo.
To see it clearly, let’s check these measurements one by one.
1.Circumference
The dotted line represents the tape. The tape is put above the ears and tape is close tightly to head. See pictures below:
2.Front to back.
The dotted line represents the tape. The tape starts from the front hairline, then goes across the top of the head, finally reaches nape edge. See below pictures:
3.Ear to ear over forehead.
The dotted line represents the tape. The tape starts from the left ear, then goes across forehead, then reaches the right ear. See below pictures:
4.Temple to temple across top of head.
The dotted line represents the tape. The tape starts from the left temple goes across the right top of the head then reaches the right temple. See below picture:
5.Ear to ear over the crown of the head.
The dotted line represents the tape. The tape starts from the left ear goes across the crown of the head then reaches the right ear. See below picture:
6.Temple to temple over the back of the head.
The dotted line represents the tape. The tape starts from the left temple goes over the back of the head then reaches the right temple. This temple is different with sideburns. Below is the picture:
7.Width of neck
The dotted line represents the tape. The tape is put at the edges of back hair.
If you measure the head size like this way, you will get the correct measurements. After completion of the wig, the wig size is suitable to the client’s head. However, if your order is not a full head wig, for example, some clients just need 3/4” wig. Then please send us a picture of how you measure the size. Let us see the area of your tape, for example, a 3/4” wig doesn’t have neck width but have back head width, see below picture:
So if you still have any questions just email us at allen@reaitahair.com, or leave a message on our website. We will contact you as soon as possible.
Base Design: Fine Welded Mono ( #0.12 Lace) Base Size: 8"(width)x10"(length) Hair Type: 100% Indian Human Hair Hair Length: 6inches Hair Density: 120% (Medium) Hair Color: Over 60 colors available Hair Style: Freestyle Wave& Curl: 3.2cm wave Fine Welded Mono is all very popular...
A hair system is a hairpiece or partial wig of human hair worn to cover some part of baldness, or for thicker purposes. It is often referred to as hairpieces, toupees or units. It is attached to the existing hair or scalp to give...
If you need the durable and long lasting base. We recommend our range of mono toupees for men. Apart from their durability, mono hair systems can also hold heavier hair densities like a heavy density, for example. We stock different mono models: some with...